Excel provides a number of ways to move around a sheet using the mouse and the keyboard.
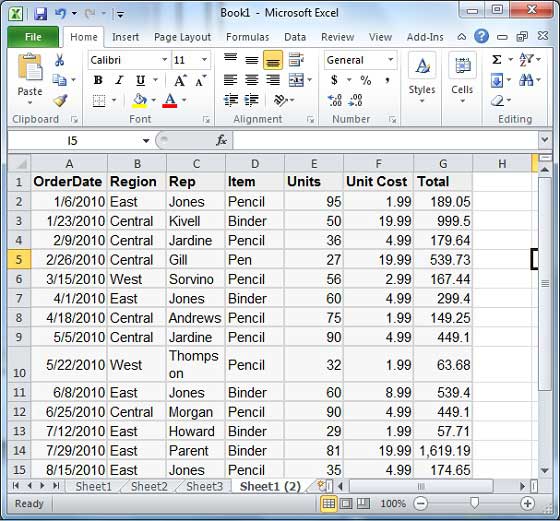
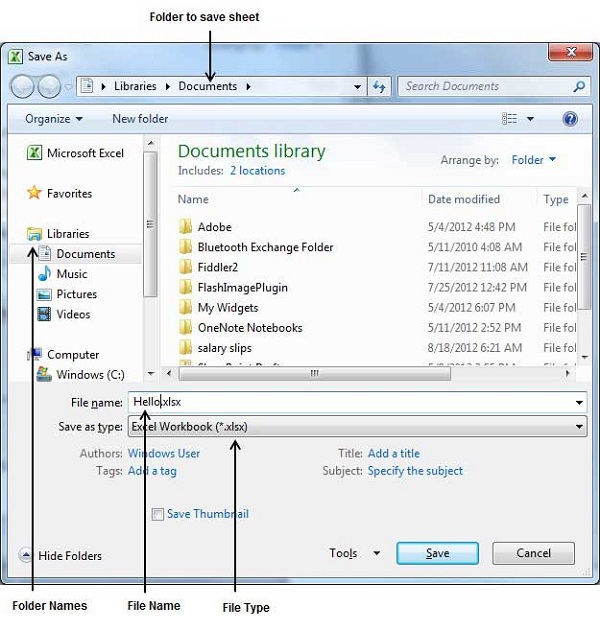
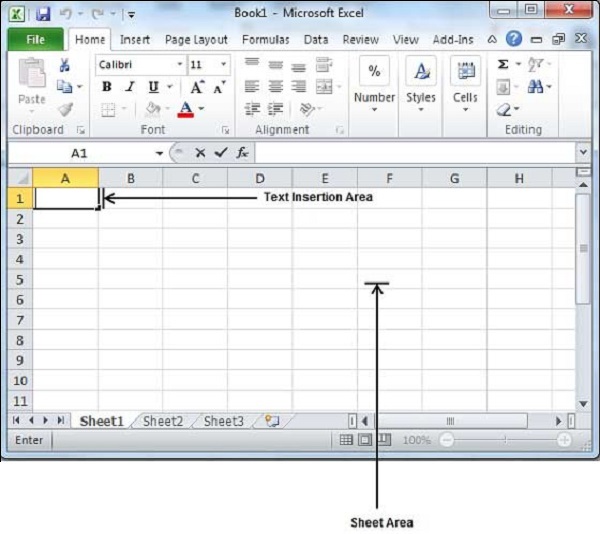
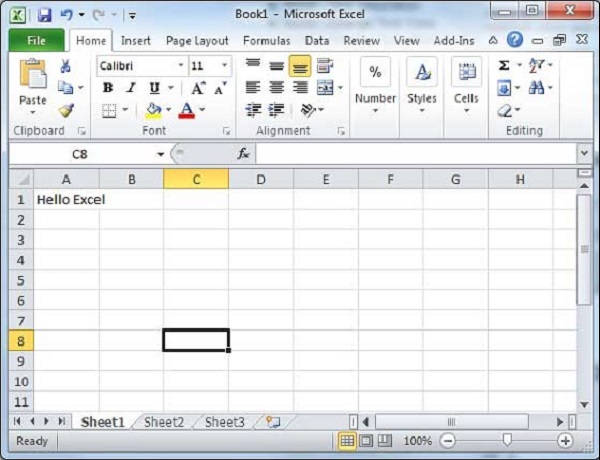
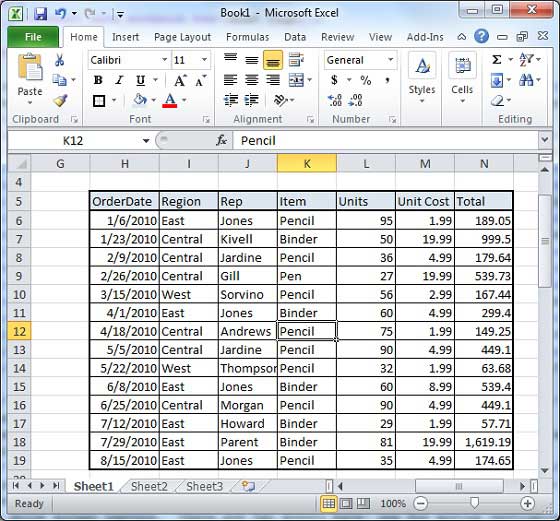
First of all, let us create some sample text before we proceed. Open a new excel sheet and type any data. We've shown a sample data in the screenshot.
| OrderDate | Region | Rep | Item | Units | Unit Cost | Total |
|---|
| 1/6/2010 | East | Jones | Pencil | 95 | 1.99 | 189.05 |
| 1/23/2010 | Central | Kivell | Binder | 50 | 19.99 | 999.5 |
| 2/9/2010 | Central | Jardine | Pencil | 36 | 4.99 | 179.64 |
| 2/26/2010 | Central | Gill | Pen | 27 | 19.99 | 539.73 |
| 3/15/2010 | West | Sorvino | Pencil | 56 | 2.99 | 167.44 |
| 4/1/2010 | East | Jones | Binder | 60 | 4.99 | 299.4 |
| 4/18/2010 | Central | Andrews | Pencil | 75 | 1.99 | 149.25 |
| 5/5/2010 | Central | Jardine | Pencil | 90 | 4.99 | 449.1 |
| 5/22/2010 | West | Thompson | Pencil | 32 | 1.99 | 63.68 |
| 6/8/2010 | East | Jones | Binder | 60 | 8.99 | 539.4 |
| 6/25/2010 | Central | Morgan | Pencil | 90 | 4.99 | 449.1 |
| 7/12/2010 | East | Howard | Binder | 29 | 1.99 | 57.71 |
| 7/29/2010 | East | Parent | Binder | 81 | 19.99 | 1,619.19 |
| 8/15/2010 | East | Jones | Pencil | 35 | 4.99 | 174.65 |
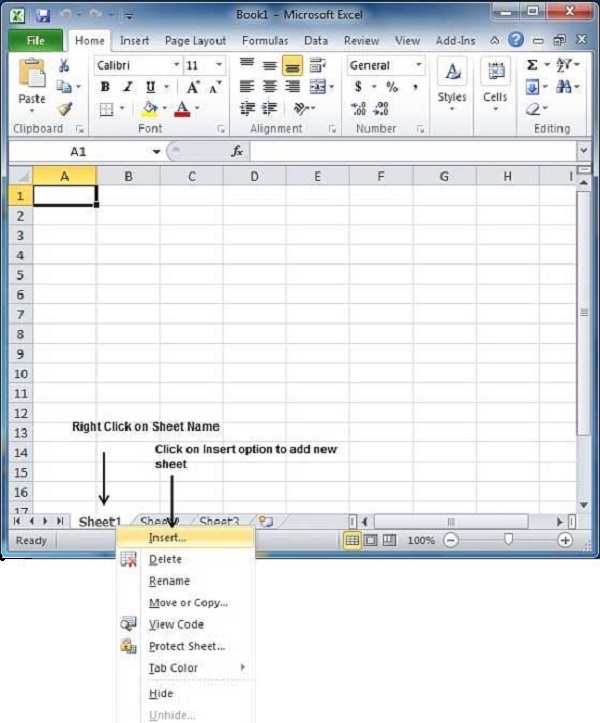
Moving with Mouse
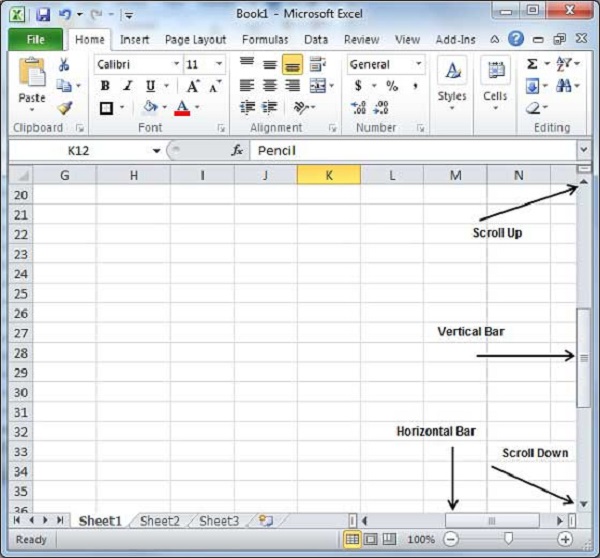
You can easily move the insertion point by clicking in your text anywhere on the screen. Sometime if the sheet is big then you cannot see a place where you want to move. In such situations, you would have to use the scroll bars, as shown in the following screen shot −
You can scroll your sheet by rolling your mouse wheel, which is equivalent to clicking the up-arrow or down-arrow buttons in the scroll bar.
Moving with Scroll Bars
As shown in the above screen capture, there are two scroll bars: one for moving vertically within the sheet, and one for moving horizontally. Using the vertical scroll bar, you may −
Move upward by one line by clicking the upward-pointing scroll arrow.
Move downward by one line by clicking the downward-pointing scroll arrow.
Move one next page, using next page button (footnote).
Move one previous page, using previous page button (footnote).
Use Browse Object button to move through the sheet, going from one chosen object to the next.
Moving with Keyboard
The following keyboard commands, used for moving around your sheet, also move the insertion point −
| Keystroke | Where the Insertion Point Moves |
|---|
 | Forward one box |
 | Back one box |
 | Up one box |
 | Down one box |
| PageUp | To the previous screen |
| PageDown | To the next screen |
| Home | To the beginning of the current screen |
| End | To the end of the current screen |
You can move box by box or sheet by sheet. Now click in any box containing data in the sheet. You would have to hold down the Ctrl key while pressing an arrow key, which moves the insertion point as described here −
| Key Combination | Where the Insertion Point Moves |
|---|
| Ctrl + | To the last box containing data of the current row. |
| Ctrl + | To the first box containing data of the current row. |
| Ctrl + | To the first box containing data of the current column. |
| Ctrl + | To the last box containing data of the current column. |
| Ctrl + PageUp | To the sheet in the left of the current sheet. |
| Ctrl + PageDown | To the sheet in the right of the current sheet. |
| Ctrl + Home | To the beginning of the sheet. |
| Ctrl + End | To the end of the sheet. |
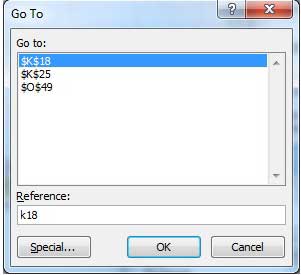
Moving with Go To Command
Press F5 key to use Go To command, which will display a dialogue box where you will find various options to reach to a particular box.
Normally, we use row and column number, for example K5 and finally press Go To button.