Change Font Colors
The text that we type comes in black by default; you can always change the color of the font to a color of your choice. It is very simple to change the text color by following two simple steps −
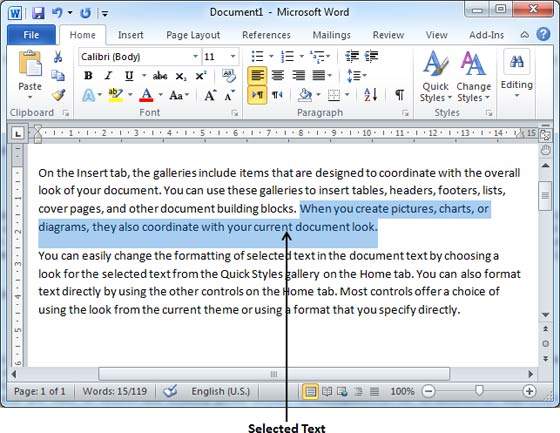
Step 1 − Select the portion of text the font color of which needs to be changed. You can use any of the text selection method to select the portion of text.
Step 2 − Click the Font Color button triangle to display a list of colors. Try to move your mouse pointer over different colors and you will see the text color will change automatically. You can select any of the colors available by simply clicking over it.
If you click at the left portion of the Font Color button, the selected color gets applied to the text automatically; you need to click over the small triangle to display a list of colors.
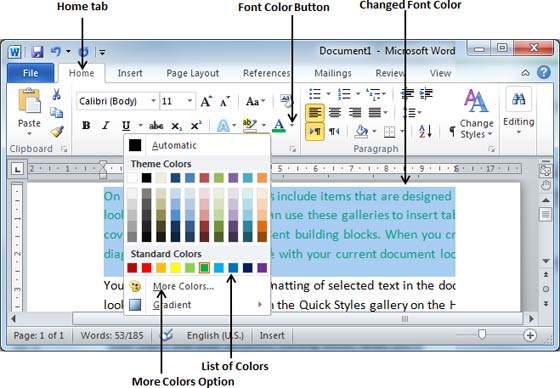
If you do not find a color of your choice, you can use the More Colors option to display the color pallet box which allows you to select a color from a range of colors.
Highlight Text with Colors
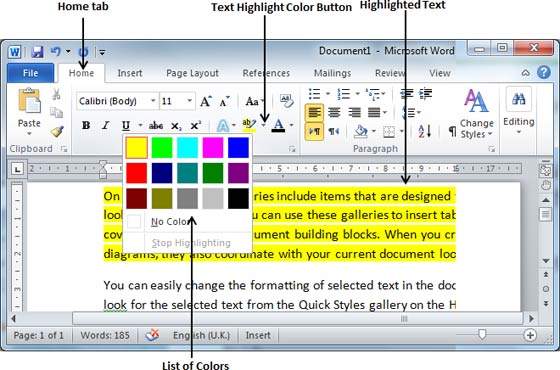
You can highlight a selected portion of text using any color and it will look like it was marked with a highlighter pen. Usually we highlight a text using yellow color. It is very simple to highlight a portion of text with a color by following two simple steps
Step 1 − Select the portion of text that needs to be highlighted with color. You can use any of the text selection method to select the portion of text.
Step 2 − Click the Text Highlight Color button triangle to display a list of colors. Try to move your mouse pointer over different colors and you will see the text color changes automatically. You can select any of the colors available by simply clicking over it.
If you click at the left portion of the Text Highlight Color button, then the selected color gets applied to the portion of text automatically; you need to click over the small triangle to display a list of colors.
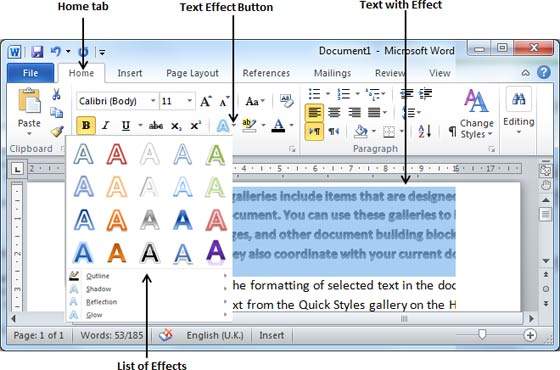
Apply Text Effects
Microsoft word provides a list of text effect which add to the beauty of your document, especially to the cover page or the headings of the document. This is very simple to apply various text effects by following two simple steps −
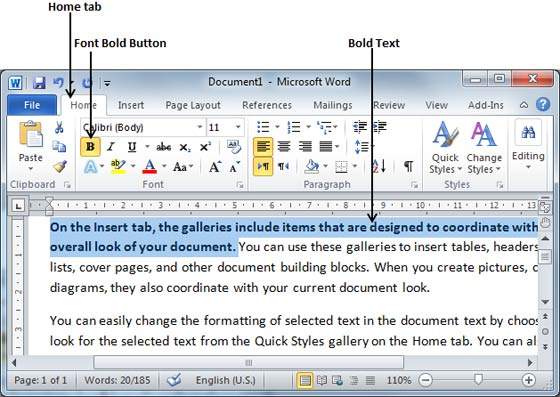
Step 1 − Select the portion of text that you want to change to a bold font. You can use any of the text selection method to select the portion of text.
Step 2 − Click the Text Effect button to display a list of effects including shadow, outline, glow, reflection etc. Try to move your mouse pointer over different effects and you will see the text effect will change automatically. You can select any of the text effect available by simply clicking over it.