PowerPoint is a multi-content program that supports many non-text content types like shapes, charts, pictures, clip arts, SmartArt and multimedia files. While working with the content, it may sometimes be required to duplicate the content as part of the presentation development. PowerPoint offers options to duplicate the non-text content using the cutcopy-paste features.
Cut-Paste Procedure
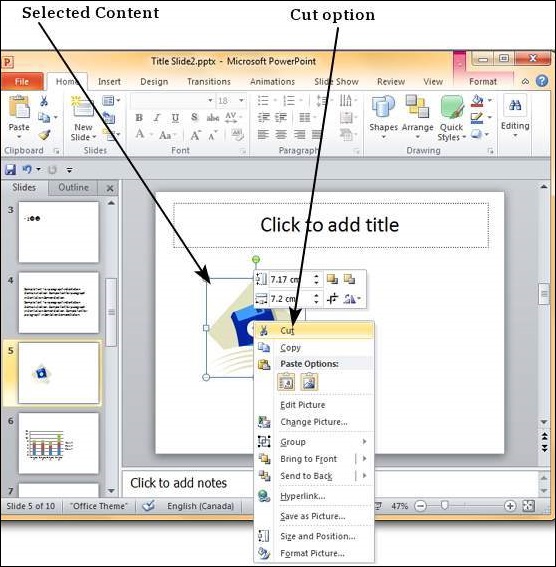
In this procedure, the original content is moved to a different location. When you use the Cut option, you can also create multiple copies, it is just that the content in the original location is lost. The following steps will make you understand how to work with the cutpaste procedure.
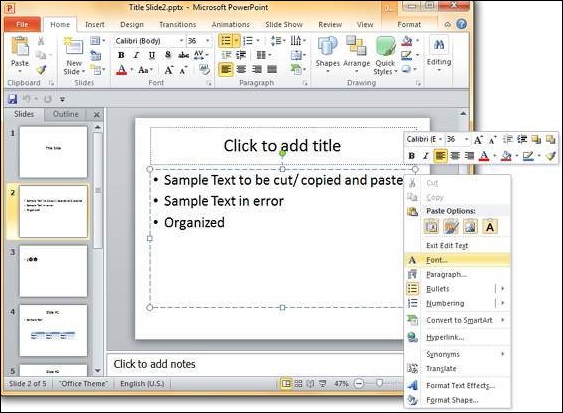
Step 1 − Select the content you want to move. Right-click on it to access the Cut option.
Step 2 − Now move the cursor to the location where you want the content to be moved and right-click to access the Paste options.
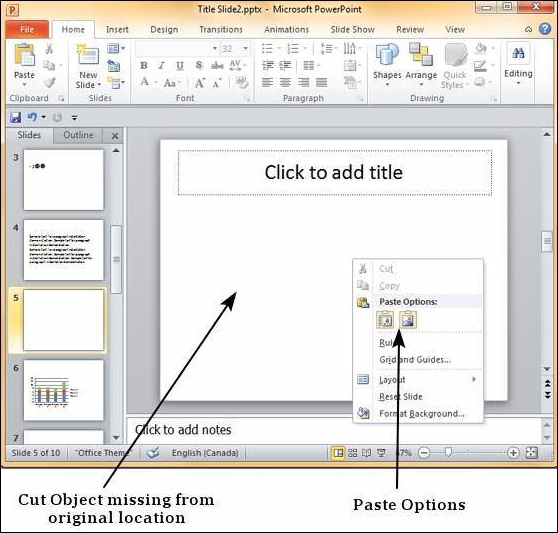
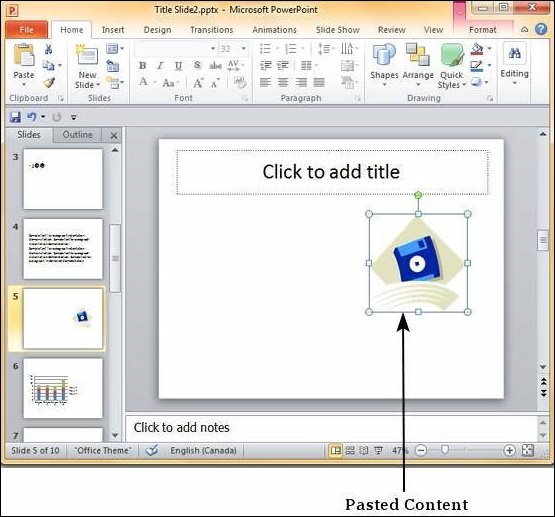
Step 3 − Select one of the paste options to paste the content.
Copy-Paste Procedure
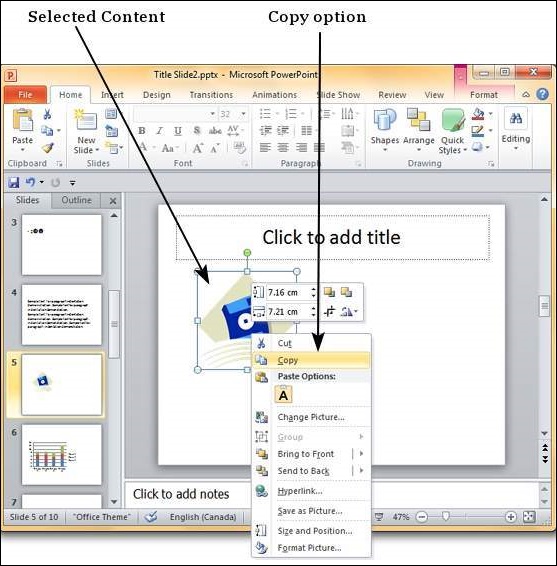
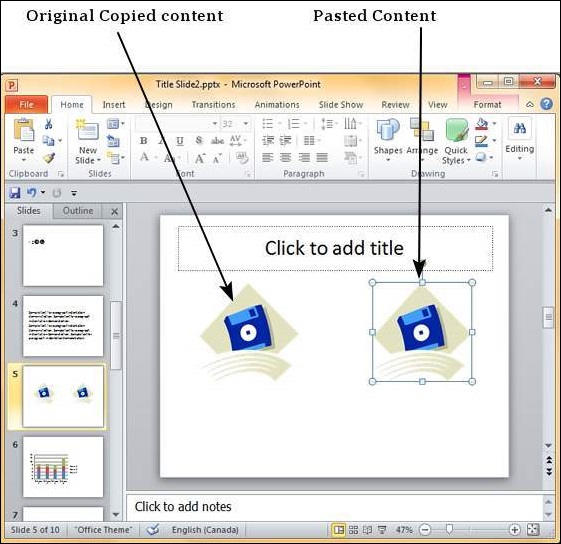
This is exactly similar to the cut-paste procedure except that the original content is retained in the original location.
Step 1 − Select the content you want to move. Right-click on it to access the Copy option.
Step 2 − Now move the cursor to the location where you want the content to be moved and right-click to access the Paste options.
Step 3 − Select one of the paste options to paste the content.
The Use Destination Theme option retains the content as the original content, but uses the destination location theme settings. The Picture option just pastes the content as an image with original settings. Once pasted as a picture you cannot change the parameters of the original content; for example, if you pasted a chart as an image, you cannot edit the data on the chart image.