Tuesday, April 25, 2023

Apply Formatting


One of the most powerful tools in Microsoft Office is the application of formatting feature. This feature basically lets you define the right format once and apply the same to a series of objects in the rest of the presentation or any other file. While working with large presentations or just working on slides for a long time, if you ever need to make a change in the style and want it applied across multiple content this is the tool to use.

The following are the steps to apply formatting to your presentation −

Step 1 − Select the content you want to copy the formatting from.

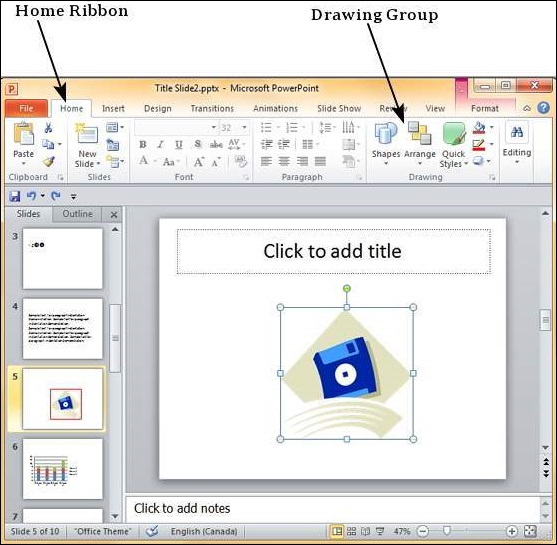
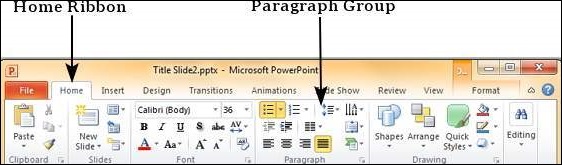
Step 2 − Go to the Clipboard group under the Home ribbon.

Microsoft PowerPoint 2010

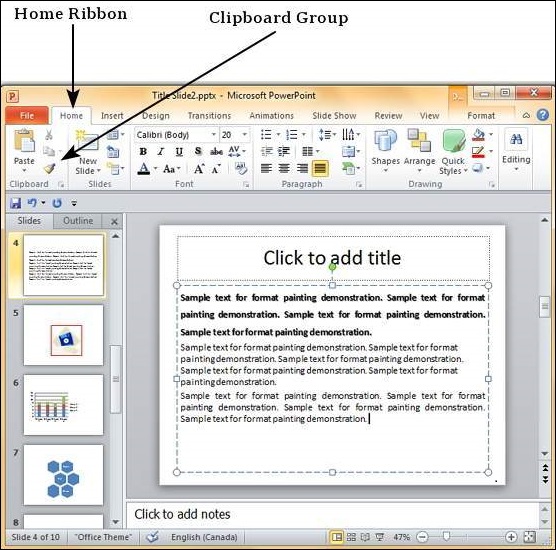
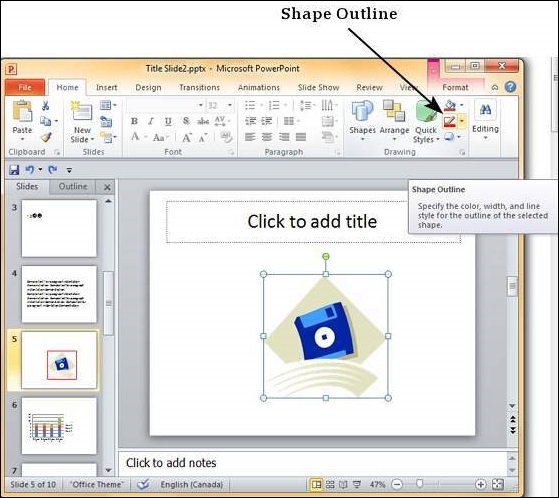
Step 3 − Click on the Format Painter icon.

Microsoft PowerPoint 2010

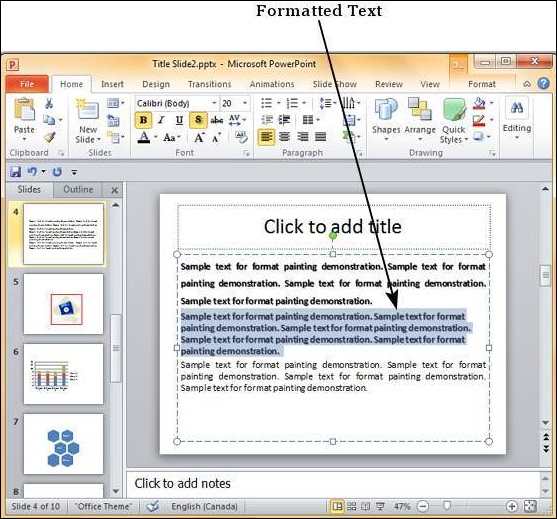
Step 4 − Select the content you want to format.

Microsoft PowerPoint 2010

Here are some key aspects about the Format Painter −

  • If you click on the Format Painter icon just once, the formatting will be copied just once.

  • If you click on the Format Painter icon twice quickly, you can copy the formatting multiple times.

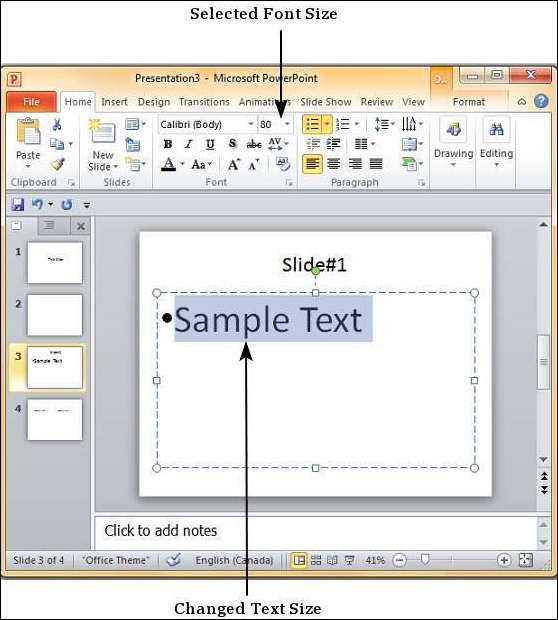
  • If you want to copy just the text formatting and not the paragraph features, ensure that you select just the sample text and not the entire paragraph.

  • If you want to copy paragraph and font formatting, you must select the entire paragraph.

Microsoft PowerPoint 2010

Borders and Shades


One can change the borders and shading for most of the content in PowerPoint 2010. Let’s see how it is done

Applying Borders

The following are the steps that will help you apply borders in your presentation.

Step 1 − Select the object (text box, image, chart, picture, etc.) to which you want to apply the border.

Step 2 − Go to the Drawing group under the Home ribbon.

Microsoft PowerPoint 2010

Step 3 − Click on the Shape Outline to choose the border settings.

Microsoft PowerPoint 2010

Step 4 − Use the color palette to choose the border color. You can choose More Outline Colors to get access to additional color choices

Step 5 − Use the Weight dropdown to define the thickness of the border.

Step 6 − Use the Dashes option to define the border style.

Microsoft PowerPoint 2010

Applying Shades

The following steps will help you apply shades to your presentation.

Step 1 − Select the object (text box, shape, chart, etc.) to which you want to apply the shades.

Step 2 − Go to the Drawing group under the Home ribbon.

Microsoft PowerPoint 2010

Step 3 − Click on the Shape Fill to choose the shade settings.

Microsoft PowerPoint 2010

Step 4 − Use the color palette to choose the shade color. You can choose More Outline Colors to get access to a choice of colors.

Step 5 − Use the Picture to add a picture as the background rather than a color.

Step 6 − Use the Gradient option to add color gradient in the background. You can use the pre-defined gradients or click on "More Gradients…" to customize the shading with gradient colors.

Step 7 − Use the Texture option to add a pre-defined texture instead of a color shade.

Microsoft PowerPoint 2010

Monday, April 24, 2023

Set Line Spacing


While dealing with a lot of textual content, especially during projected presentations, it is a good idea to space the lines further apart to improve the readability of the overall content. PowerPoint offers line spacing options to help you change the spacing between lines in the text. Like the indentation, these settings apply at a paragraph level. Given below are the steps to set the line spacing in PowerPoint.

Step 1 − Select the text content to be spaced. You can either select the entire paragraph or just place the cursor within the paragraph.

Step 2 − Go to the Paragraph group under the Home ribbon.

Microsoft PowerPoint 2010

Step 3 − Select one of the line spacing option from the dropdown list to apply one of predefined spacing options.

Microsoft PowerPoint 2010

Step 4 − To customize the spacing, you can click on "Line Spacing Options…" This will launch the Paragraph dialog.

Microsoft PowerPoint 2010

Step 5 − The spacing section in the Paragraph dialog has two settings. The Before and After are the spacing for paragraph as a whole, while Line Spacing is the spacing for lines within the paragraph itself.

Friday, April 21, 2023

Indent Paragraphs


Relatively long paragraphs can get monotonous to read and this effect is accentuated in slides where the area is smaller and the contents are usually projected. Paragraph indentations can help ease the strain on eyes and also help present the content in a visually appealing way. This chapter will discuss the paragraph indentations available in PowerPoint.

Step 1 − Select the text content to be indented. Unlike most other settings, indentation works at a paragraph level, so regardless of what text you select the indent settings will apply to the entire paragraph. However, if the text box has multiple paragraphs you can have different indentations for different paragraphs.

Step 2 − Go to the Paragraph group under the Home ribbon.

Microsoft PowerPoint 2010

Step 3 − Select one of the indentation options. You will notice that by default the text is set at the lowest indentation level, so you will not be able to decrease it further. You must increase indentation the first time you use it.

Microsoft PowerPoint 2010

Step 4 − Once you have increased the indent, the decrease indent option is enabled.

Microsoft PowerPoint 2010

Wednesday, April 19, 2023

Text Alignments


PowerPoint offers various text alignment options to create visually appealing designs and organizing the content better. The table below describes the various text alignment options available in PowerPoint.

S.NoAlignment Icon & Description
1Microsoft PowerPoint 2010

Aligns the text to the left of the shape/ text box.

2Microsoft PowerPoint 2010

Aligns the text in the middle of the shape/ text box.

3Microsoft PowerPoint 2010

Aligns the text to the right of the shape/ text box.

4Microsoft PowerPoint 2010

Justifies the alignment by adjusting the character spacing so the final text looks aligned from both left and right.

5Microsoft PowerPoint 2010

Specifies text direction: horizontal (default), stacked (vertical), rotated by 90 or 270 degrees. You can also customize the text direction to other angles.

6Microsoft PowerPoint 2010

Vertically aligns the text; top, bottom or middle of the text box/ shape.

Alignment can be done on selected portion of text in text boxes, shapes and even SmartArt. The following steps will help you align text.

Step 1 − Select the portion of text that needs to be aligned. If you select a specific portion of text, the alignment settings will apply to that portion of text alone. If you select the entire shape/ text box, the settings will apply for the entire selection.

Step 2 − Go to the Paragraph group under the Home ribbon.

Microsoft PowerPoint 2010

Step 3 − Select one of the alignment options described above to change the text alignment. Note that the default alignment for text is usually Left.

Step 4 − As long as the text is selected, you can change the text alignment multiple times.

Microsoft PowerPoint 2010

Change Text Color


In this chapter, we will understand how to change text color in PowerPoint 2010. The following are the steps to change text color.

Step 1 − Select the text the color of which needs to be changed.

Step 2 − Go to the Font group under the Home ribbon.

Microsoft PowerPoint 2010

Step 3 − From the Font Color dropdown, select the color you want to use for your text.

Microsoft PowerPoint 2010

Step 4 − Click on your choice to change the font color for the selected portion of text.

Microsoft PowerPoint 2010

If you want to choose from a wider range of colors than what's shown in the dropdown you can click on "More Colors…"

Microsoft PowerPoint 2010

Here you can pick from a standard color palette for a greater choice of predefined colors or create your own from the custom color palette.

Microsoft PowerPoint 2010

Tuesday, April 18, 2023

Change Text Size


The following steps will help you change the text size.

Step 1 − Select the text the case of which you want to change.

Step 2 − Go to the Font group under the Home ribbon.

Microsoft PowerPoint 2010

Step 3 − From the Font Size dropdown, select the size you want to use for your text.

Microsoft PowerPoint 2010

Step 4 − Click on your choice to change the font size for the selected portion of text.

Microsoft PowerPoint 2010

Step 5 − If you want to change the font size in steps you can also use the Increase/ Decrease Font Size options.

Microsoft PowerPoint 2010

Data Link Layer

In the OSI model, the data link layer is a 4 th  layer from the top and 2 nd  layer from the bottom. The communication channel t...