PowerPoint allows users to share the presentation as an email attachment too. Although you can attach the presentation from outside the program, the ability to send the emails directly from PowerPoint is quite convenient; this is because you need not leave the PowerPoint program to send the email.
Given below are the steps to send an email from PowerPoint.
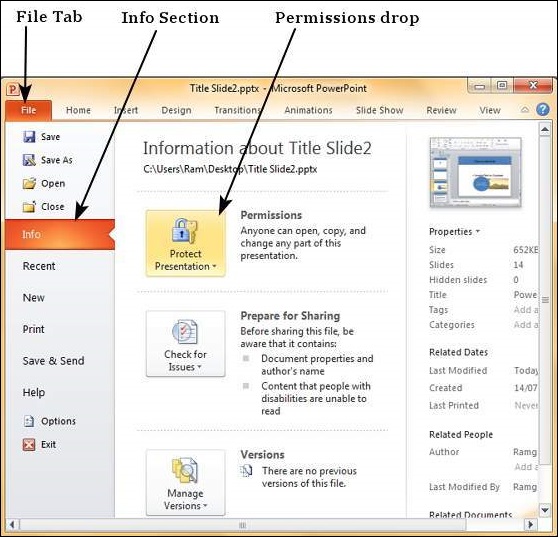
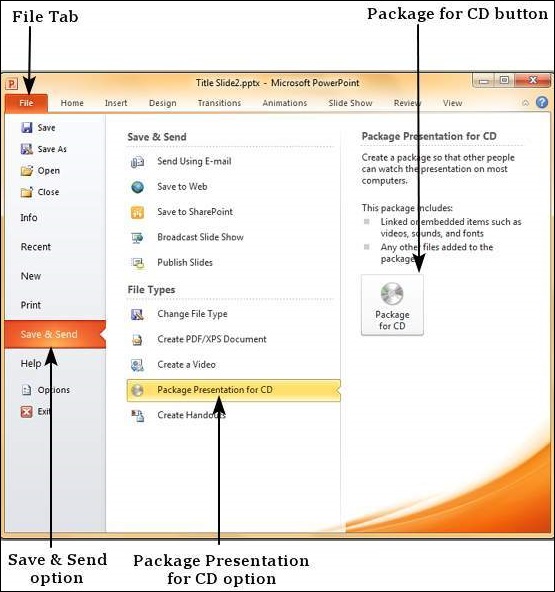
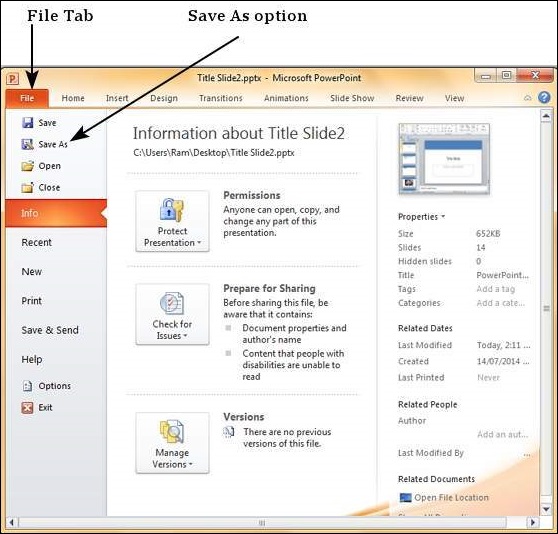
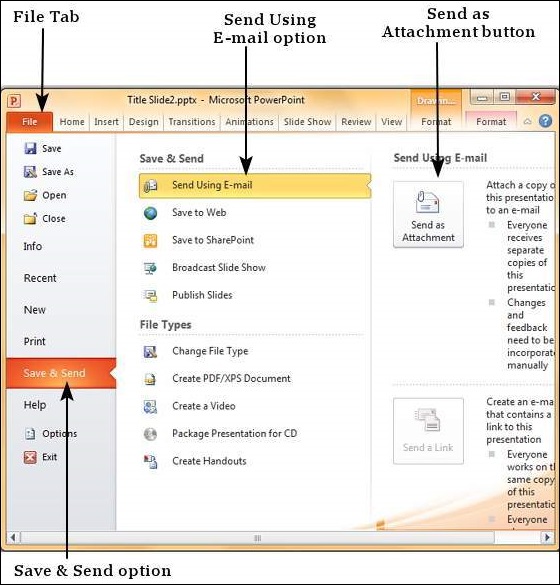
Step 1 − Go to the Backstage view under the File tab.
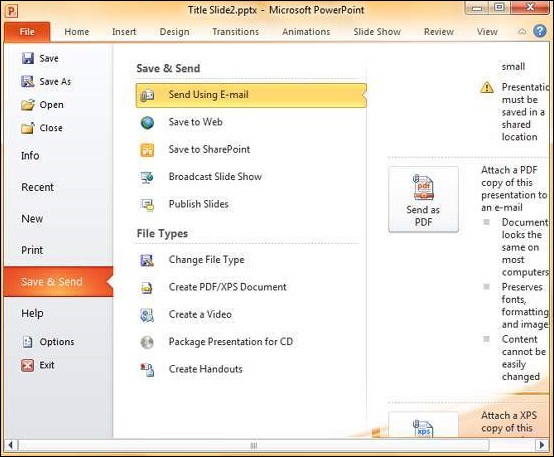
Step 2 − Click on Save & Send, select Send Using E-mail option and click on Send as Attachment button.
Step 3 − This launches the Outlook Send Email window with the presentation added as attachment. You can add the emails of recipients and send the email.
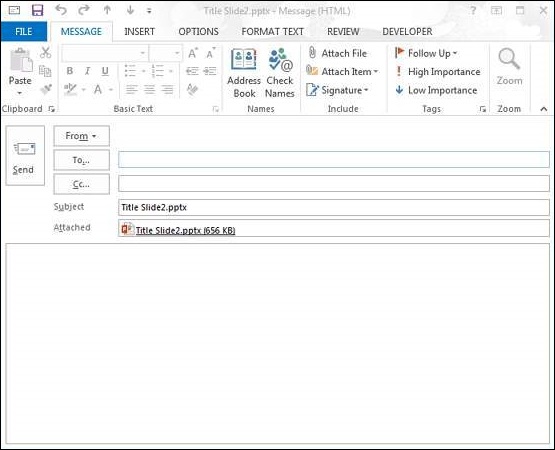
Step 4 − Instead of "Send as Attachment" you select "Send as PDF", you will get a pdf attachment instead of a .pptx attachment.