Sometimes it is important to protect the presentation and ensure unauthorized audience does not get to view the slides. PowerPoint offers users the ability to protect the presentations.
Given below are the steps to password protect the presentation
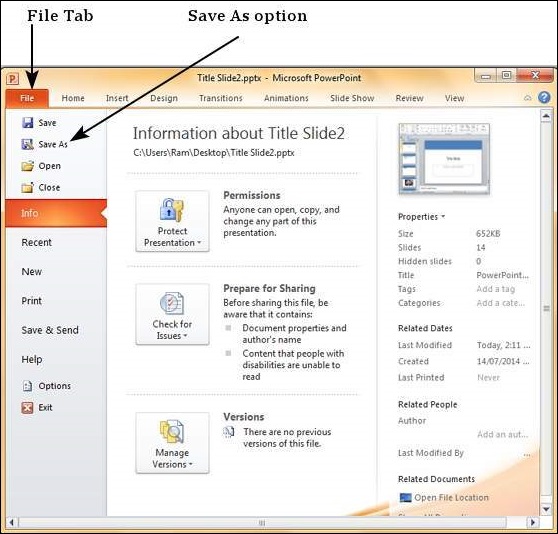
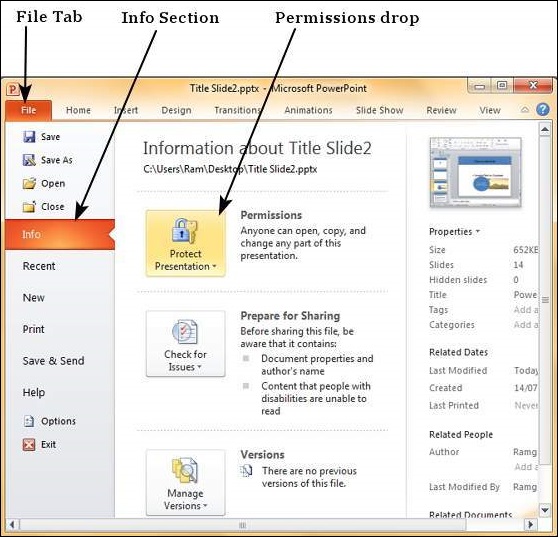
Step 1 − Go to the Backstage view under the File tab.
Step 2 − On the Info section, click on the Permissions dropdown.
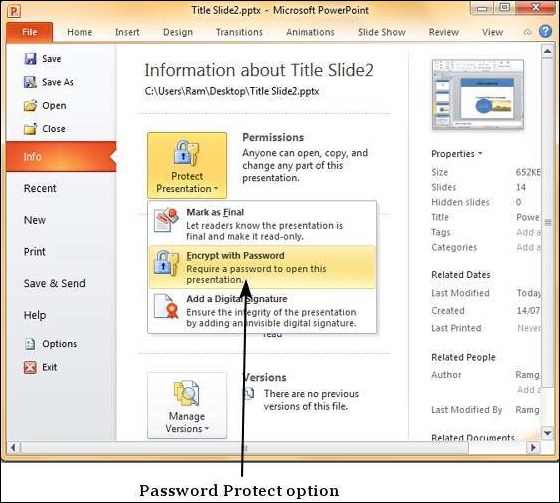
Step 3 − Select "Encrypt with Password" to enable password protection.
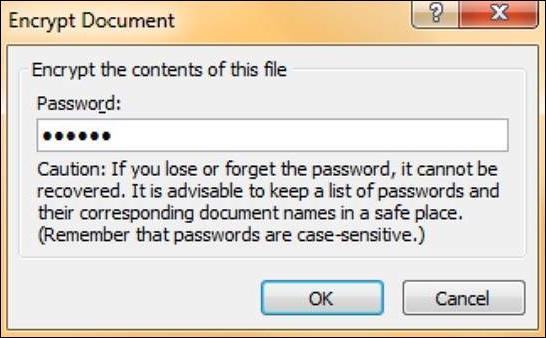
Step 4 − Enter the password in the Encrypt Document dialog.
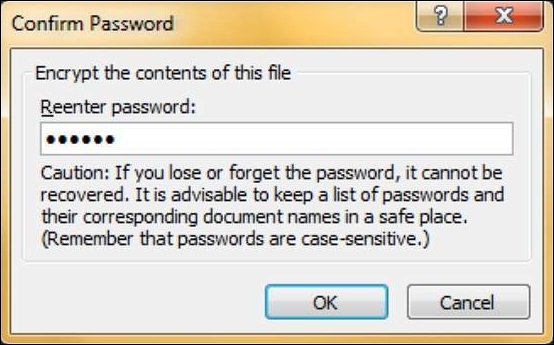
Step 5 − Re-enter the password in the Confirm Password dialog.
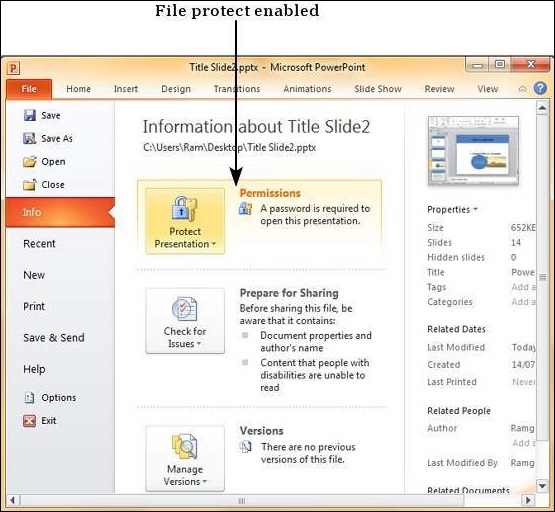
Step 6 − Your presentation is now password protected.
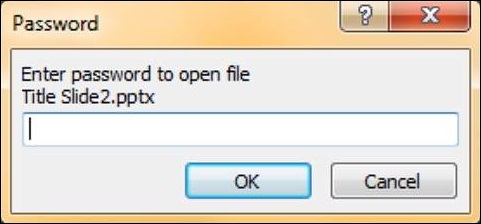
Step 7 − Readers will now have to enter the password in the Passworddialog to open the file.
Step 8 − To unprotect the file, follow the steps up to Step 3 and delete the password in the Encrypt Document dialog.