Thursday, March 23, 2023

Adding Slide Numbers


Just like you have page numbers for books, it is usually a good idea to add slide numbers to presentations. There are two ways you can add slide numbers to your presentation and this chapter will show you both those techniques.

Step 1 − Under the Insert ribbon, Text group click on Slide Numbercommand.

Microsoft PowerPoint 2010

Step 2 − The Header and Footer dialog opens up.

Microsoft PowerPoint 2010

Step 3 − Check the Slide number check box.

Microsoft PowerPoint 2010

Step 4 − The Preview shows the section where the slide number will be placed.

Microsoft Office 2010

Instead of clicking on the Slide Number command, you can also click on the Header & Footer menu item to launch the same dialog as in Step 2.

Microsoft PowerPoint 2010

Review Presentation


Reviewing the presentation can be a very powerful way of eliminating the errors and perfecting the slides. PowerPoint offers a wide range of reviewing options for you to use. Some of them are automatic or system driven, while others aid other users to collaborate and review the slides. All the reviewing tools are grouped under the Review ribbon.

Microsoft PowerPoint 2010


Review SectionFunctions
Proofing
  • Spellchecking − Identify spelling and grammar based on selected language preference

  • Research − Reference language related research tools based on specific reference books and research sites

  • Thesaurus − Provide synonyms for selected text

Language
  • Translate − Provides translation services for selected words for multilingual support

  • Language − Sets the default language for the presentation - this will be used as default language for proofing

Comments
  • Show Marking − Show/hide the user comments in the slide

  • New Comment − Add new comment against the selected content

  • Edit Comment − Edit an existing comment

  • Delete Comment − Delete a selected comment, all comments in the selected slide or all the comments in the presentation

  • Previous / Next Comment − Move to previous / next comments

Compare
  • Compare − Compare the current presentation with another presentation and identify the differences

  • Accept/ Reject − Accept or reject the differences to be incorporated into the current presentation

  • Previous/ Next − Move to the previous or the next difference in the comparison.

  • End Review − End the review and discard any unapplied changes

Tuesday, March 21, 2023

Saving Presentation


One of the most basic tasks in PowerPoint is being able to save your work; this is probably the most important task as well. There are many users who have burnt their fingers for not saving their work in time and losing hours of hard work. The following are the basic steps to save a presentation.

Step 1 − Click on the File tab to launch the Backstage view and select Save.

Microsoft PowerPoint 2010

Step 2 − In the Save As dialog, type in the file name and click "Save".

Microsoft PowerPoint 2010

Step 3 − The default file format is .pptx. If you want to save the file with a different name, choose one of the file types from the "Save as type" dropdown list.

Microsoft PowerPoint 2010

If you are working on an already saved file, the "Save" option in the Backstage view will directly save the file in the existing format with the existing name. If you want to change the format or filename of an existing file, use the Save As option instead.

Microsoft PowerPoint 2010

Sunday, March 19, 2023

Slide Orientations


In the recent years, presentations are being used for more than just as a high end replacement for transparencies and projectors. With its unique features, PowerPoint is becoming quite versatile in the kind of information it can depict and very flexible in its usage. The slide orientations are invaluable part of this improved list of PowerPoint features. Like most other applications PowerPoint supports two orientations: landscape and portrait.

The Landscape layout is the default PowerPoint layout and it is probably the more commonly used one. In the landscape layout, the longer edge is horizontal so the slides align better with the screens and projectors.

The Portrait layout is where the shorter edge is horizontal. This is sometimes better for print depending on the kind of content you want to present.

Slide orientations in PowerPoint can be changed from the Design ribbon using the Slide Orientation command.

Office 2010

Friday, March 17, 2023

Setting Backgrounds


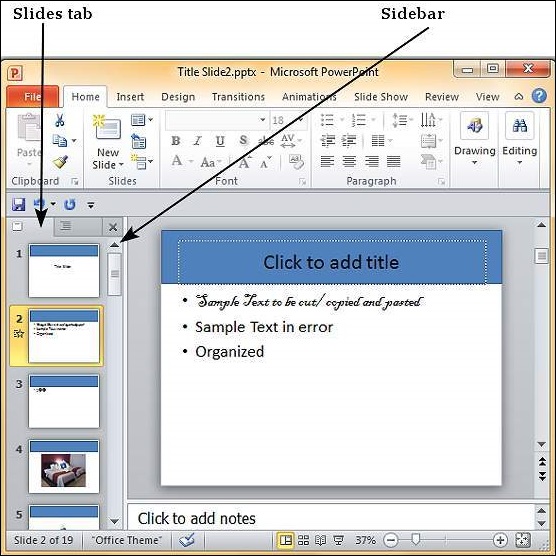
As PowerPoint is a design-based program, backgrounds are effective ways of improving the aesthetics and readability of the slides. The Themes in PowerPoint help select the backgrounds by default, so every time you change the theme, the default background is set automatically. Theme includes more than just backgrounds, so you can retain other aspects of the theme while changing the default background.

Given below are the steps to apply backgrounds in PowerPoint.

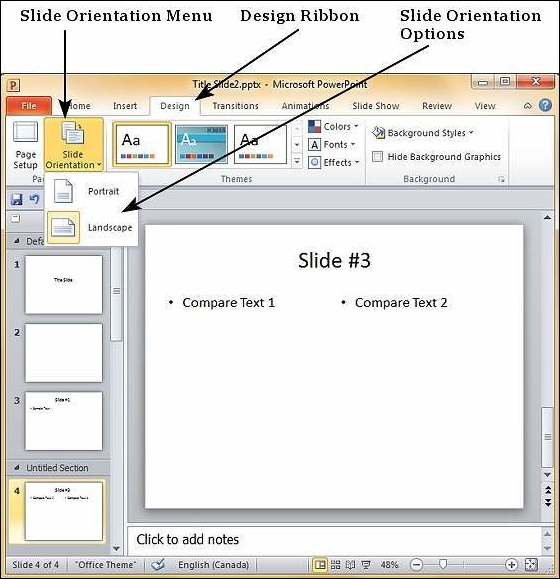
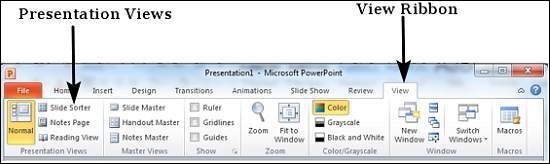
Step 1 − In the Design ribbon, under the Background group, click the Background Styles command.

Microsoft PowerPoint 2010

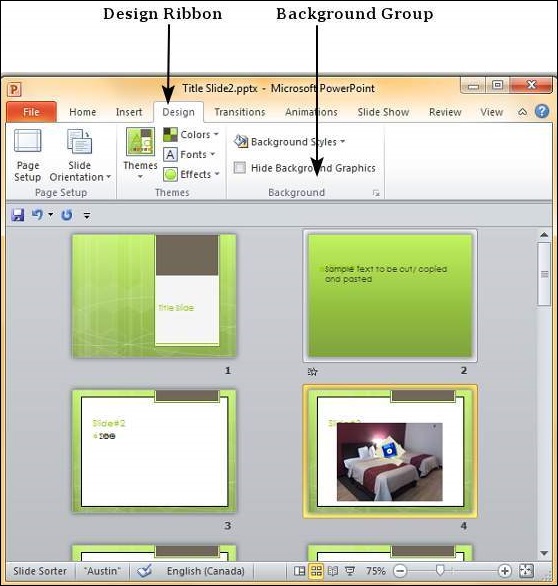
Step 2 − Select one of the background styles that suits your requirements.

Microsoft PowerPoint 2010


Microsoft PowerPoint 2010

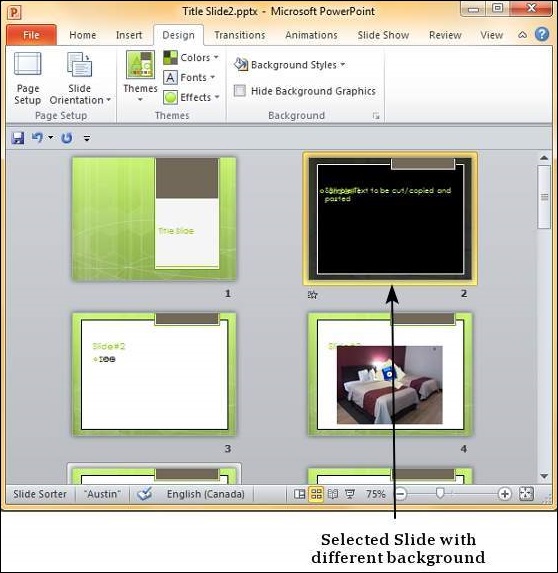
Step 3 − To edit the background for a specific slide, right-click on the desired background slide and select "Apply to Selected Slides".

Microsoft PowerPoint 2010

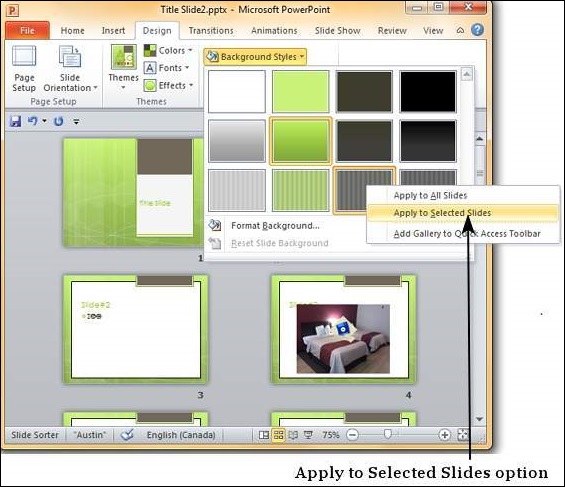
Step 4 − Selected slide(s) now have the new background.

Microsoft PowerPoint 2010

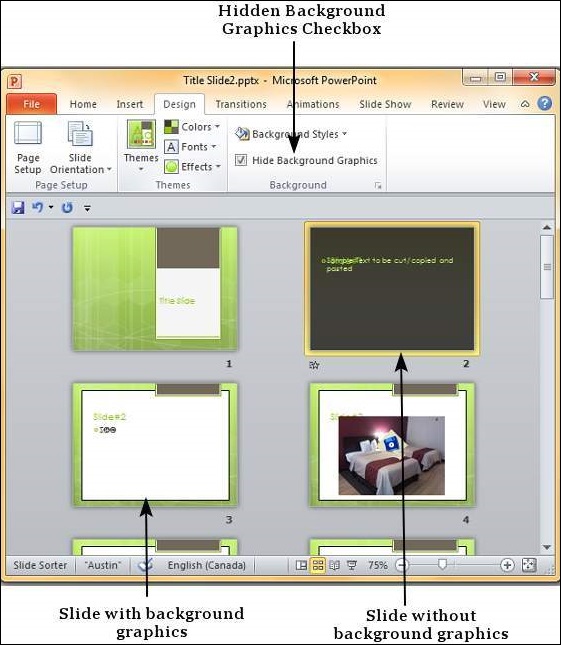
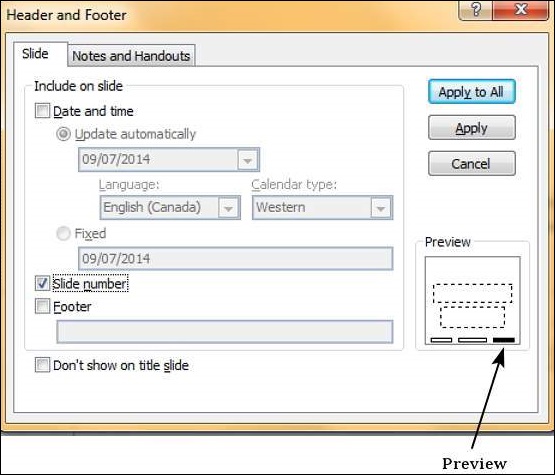
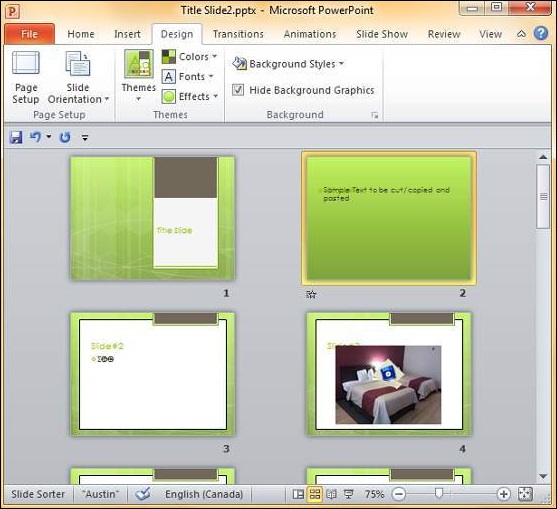
The graphics in the slide background can distract you from the actual content, in such cases you can hide the graphics and retain a plain background till you finish working on the content. To do this, select the slide and check the "Hide Background Graphics" checkbox.

Microsoft PowerPoint 2010

Thursday, March 16, 2023

Presentation Views


PowerPoint supports multiple views to allow users to gain the maximum from the features available in the program. Each view supports a different set of functions and is designed accordingly.

PowerPoint views can be accessed from two locations.

  • Views can be accessed quickly from the bottom bar just to the left of the zoom settings.

Microsoft PowerPoint 2010

  • Views can also be accessed from the Presentation Views section in the View ribbon

Microsoft PowerPoint 2010

Here is a short description of the various views and their features.

Normal View

This is the default view in PowerPoint and this is primarily used to create and edit slides. You can create/ delete/ edit/ rearrange slides, add/ remove/ modify content and manipulate sections from this view.

Microsoft PowerPoint 2010

Slide Sorter View

This view is primarily used to sort slides and rearrange them. This view is also ideal to add or remove sections as it presents the slides in a more compact manner making it easier to rearrange them.

Microsoft PowerPoint 2010

Reading View

This view is new to PowerPoint 2010 and it was created mainly to review the slideshow without losing access to rest of the Windows applications. Typically, when you run the slideshow, the presentation takes up the entire screen so other applications cannot be accessed from the taskbar. In the reading view the taskbar is still available while viewing the slideshow which is convenient. You cannot make any modifications when on this view.

Microsoft PowerPoint 2010

SlidesShow

This is the traditional slideshow view available in all the earlier versions of PowerPoint. This view is used to run the slideshow during presentation.

Microsoft PowerPoint 2010

Wednesday, March 15, 2023

Sidebars


PowerPoint slides have a left-hand side bar which offers two invaluable views. These views are great to review the slides and edit them. The side bar is available in the Normal view and by default, it is set to the Slides tab.

Microsoft PowerPoint 2010

Slides Tab

This tab shows all the slides stacked vertically in a sequential manner. You can select individual slides from this tab and also perform some tasks like changing slide layouts, reordering slides, inserting new slides, deleting slides, etc. Although you cannot edit the slide contents from this tab, you can select the slide and make edits from the slide displayed to the right.

Outline Tab

This is the tab right next to the Slides tab and as the name suggests, this provides the outline for the slide. This section just displays all the textual content from every slide - this can be very useful if there is a lot of non-text content in the slide and reviewing just the written part gets difficult. Unlike in the slides tab, you can edit the text from this section.

Microsoft PowerPoint 2010

If you need greater viewing space, you can close the sidebar by click on the X on the top right of this bar.

Microsoft PowerPoint 2010

To recover the sidebar, just click on the Normal view icon again.

Microsoft PowerPoint 2010

Data Link Layer

In the OSI model, the data link layer is a 4 th  layer from the top and 2 nd  layer from the bottom. The communication channel t...