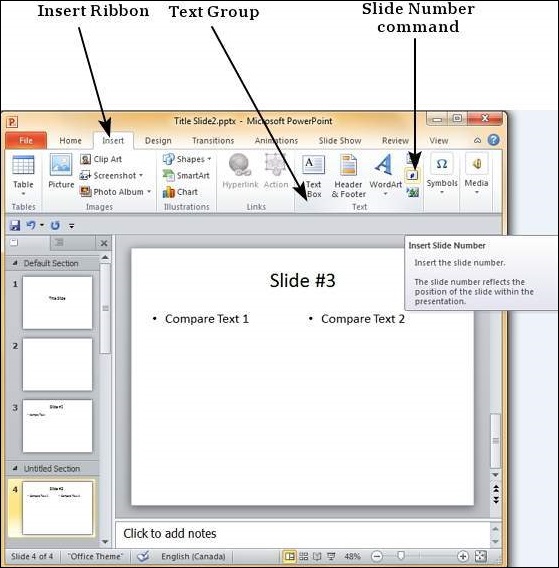
Here are the steps to add header and footer information to slides
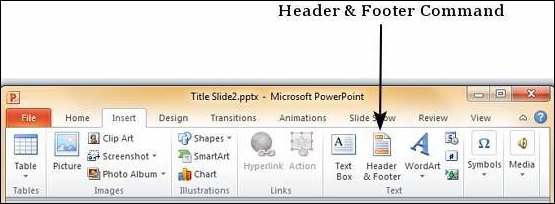
Step 1 − In the Insert ribbon, click on the Header & Footer menu item.

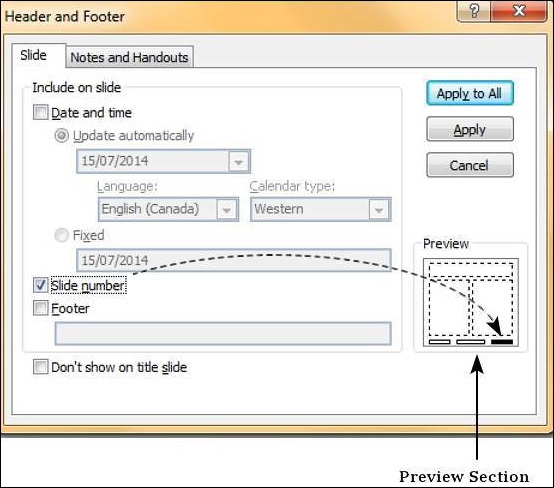
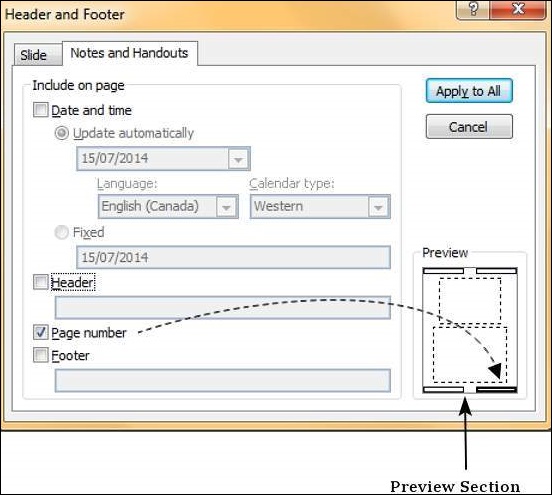
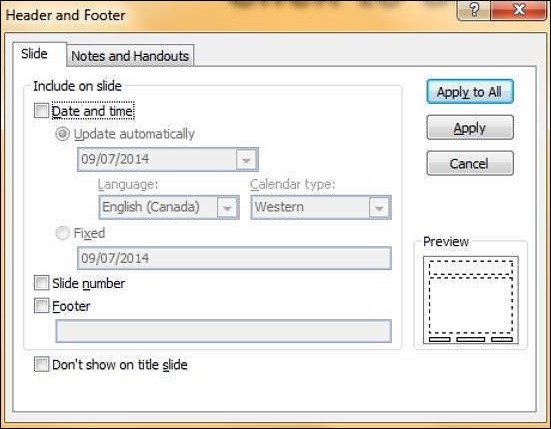
Step 2 − The Header and Footer dialog has two tabs — the Slide tab and the Notes and Handouts tab.
Step 3 − You can add details to the slide footer from the Slide tab.
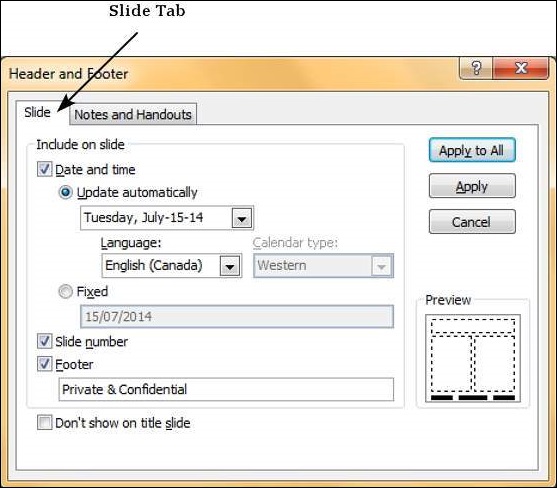
| S.No | Slide Footer Options & Description |
|---|---|
| 1 | Date and time
|
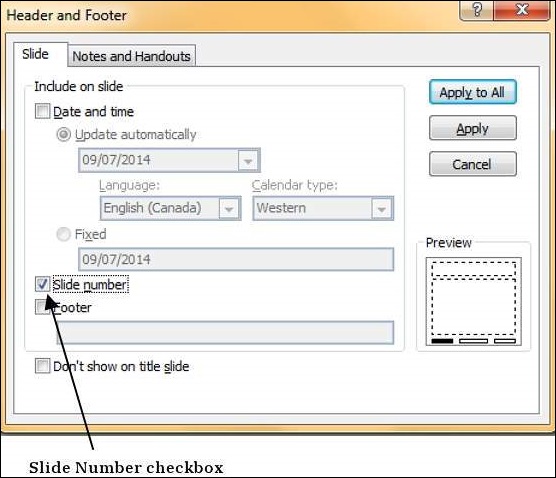
| 2 | Slide Number Insert Slide number in the footer |
| 3 | Footer Add designated text to the footer - a good example of this is the confidentiality clause or copyright clause |
| 4 | Don't show on title slide Decide on whether the footer information should be displayed on the title slide or not |
Step 4 − You can add the details to the handouts from the Notes and Handouts tab.
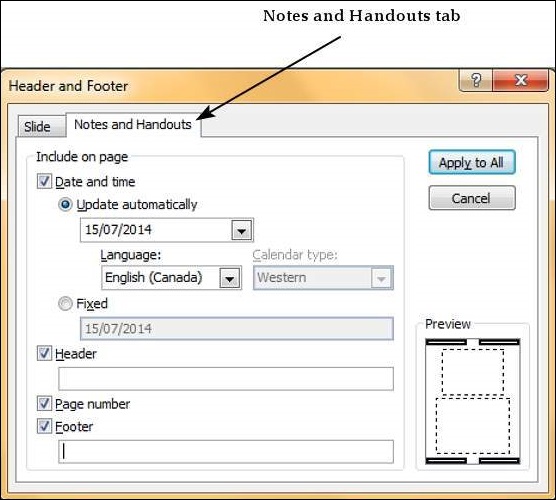
| S.No | Notes and Handouts Options & Description |
|---|---|
| 1 | Date and time
|
| 2 | Header Add the header information for every page on the handout |
| 3 | Page Number Insert page number in the footer |
| 4 | Footer Add designated text to the footer - a good example of this is the confidentiality clause or copyright clause |
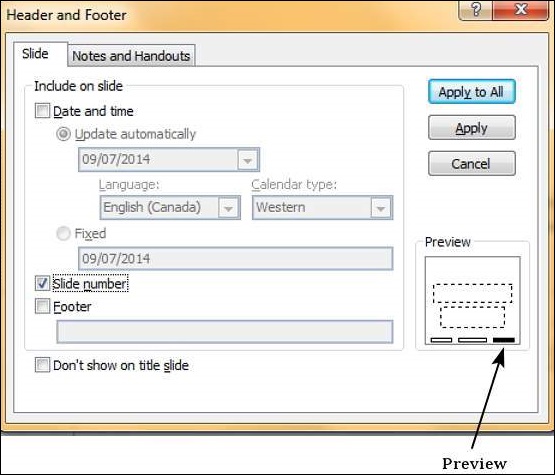
When you check any of the header and footer checkboxes in either tabs, you can see the location where the detail is inserted in the preview section.