Friday, April 14, 2023

Text Decoration


In this chapter, we will understand how to decorate text in PowerPoint 2010. PowerPoint offers many text decoration features and adds to the aesthetic sense of a presentation. These features can be accessed from the Homeribbon under the Font group.

Microsoft PowerPoint 2010

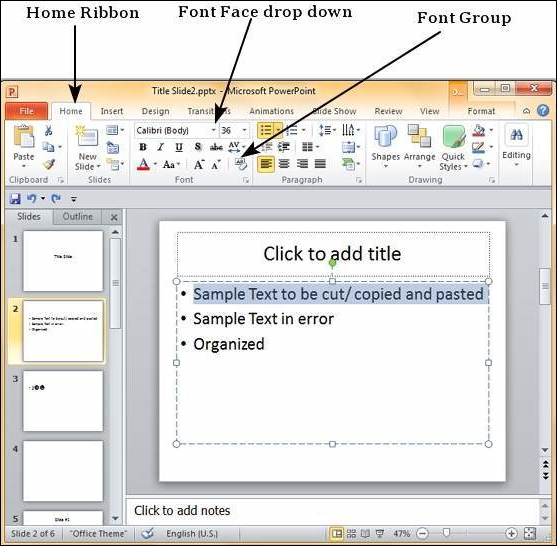
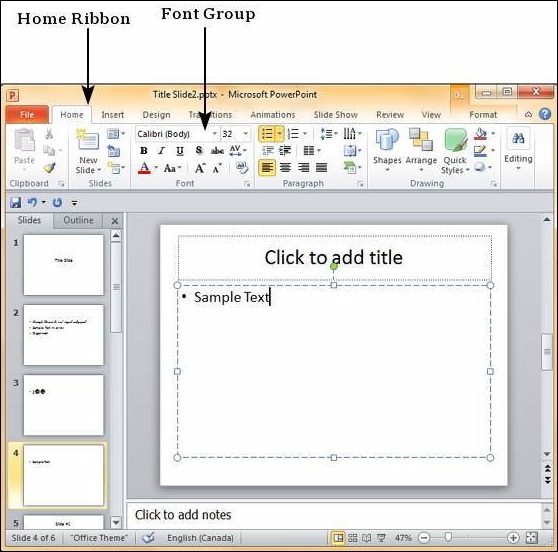
Given below are the various font decoration features and their functions in PowerPoint.

S.NoIcon & Description
1Microsoft PowerPoint 2010

Makes the font face bold

2Microsoft PowerPoint 2010

Makes the font face italics (slanted font)

3Microsoft PowerPoint 2010

Underlines the font face

4Microsoft PowerPoint 2010

Adds shadow to the font face

5Microsoft PowerPoint 2010

Strikes through the font face

6Microsoft PowerPoint 2010

Adjusts the character spacing for the font. Predefined settings are very tight, tight, normal, loose and very loose. There is a user defined space setting available too.

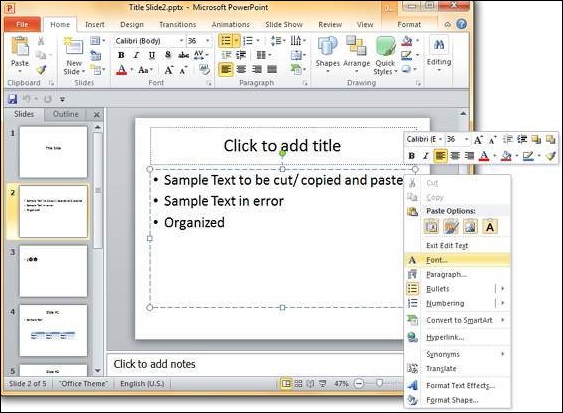
Besides these, there are some other font decoration features that can be accessed from the Font dialog. To open the Font dialog, right-click on the selected text and select Font.

Microsoft PowerPoint 2010

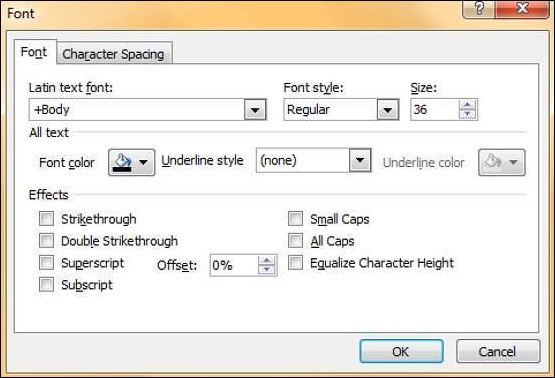
The table below describes the additional text decoration features in the Fontdialog.

Microsoft PowerPoint 2010

S.NoIcon & Description
1

Double Strikethrough

Adds two strike lines over the text

2

Superscript

Raises the text above the normal text. For example, the use of "nd" in 2nd

3

Subscript

Shrinks the below the normal text. For example, the '2' in H2O the chemical formula of water

4

Small Caps

Changes the entire text to small caps

5

All Caps

Changes the entire text to capital letters

6

Equalize Character height

Adjusts the characters so that all are of the same height regardless of the caps setting

Thursday, April 13, 2023

Setting Text Fonts


PowerPoint offers a wide range of pre-built fonts to choose from. Depending on the purpose of the presentation you may want to choose a more casual font or a formal one. This section will look at the steps to set the text fonts.

Step 1 − The default font in PowerPoint 2010 is Calibri.

Microsoft PowerPoint 2010

Step 2 − To change the text font, select that portion of text the font of which needs to be changed. If you select the entire text box or shape, the changes will apply to all the text in the selection. If you select specific text, the changes will apply to selection only.

Step 3 − In the Font group, under the Home ribbon, click on the font face dropdown.

Microsoft PowerPoint 2010

Step 4 − Scroll through the list of font faces to pick the one that suits your needs. As you move your cursor over the fonts, the selection will change accordingly to give you a preview.

Microsoft PowerPoint 2010


Microsoft PowerPoint 2010

Wednesday, April 12, 2023

Font Management


One of the key elements of any good presentation is the text, hence managing the fonts in PowerPoint is vital to designing an impressive slideshow. PowerPoint offers extensive font management features to cover various aspects of fonts. The font management can be accessed from the Homeribbon in the Font group.

Add New Slide

You can also access font management features by selecting a text box, right-clicking and selecting Font.

Add New Slide

This opens up the Font dialog which contains all the font management features available under the font section in the Home ribbon.

Add New Slide

The table below describes various font management features available in PowerPoint.

S.NoFeatures & Description
1

Font Type

Defines the font type like Arial, Verdana, etc.

2

Font Size

Defines the font size. Besides, there are icons to increase and decrease the font size in steps in the Font group.

3

Font Style

Defines font styles like Regular, Bold, Italics or Underlined.

4

Font Color

Specifies the font color.

5

Font Effects

Defines effects like shadow, strikethrough, subscript, superscript, etc.

6

Character Spacing

Specifies character spacing like loose, tight, normal, etc.

Tuesday, April 11, 2023

Slides Zoom In-Out


PowerPoint allows users to zoom in and zoom out of the slides to help focus on specific sections or look at the entire slide as a whole. The minimum zoom supported by PowerPoint is 10% and the maximum is 400%. The zoom bar is located in the bottom right corner of the PowerPoint window.

Microsoft PowerPoint 2010

To change the zoom settings from the zoom bar, you can click on the marker and drag it. Dragging to the left will zoom out and to the right will zoom in.

Microsoft PowerPoint 2010

Alternately, you can click on the zoom percent to open the zoom dialog. Here you have the option to auto-fit the slide in the screen, or choose from six pre-defined zoom settings, or define your own zoom setting.

Microsoft PowerPoint 2010

Sunday, April 9, 2023

Special Characters


PowerPoint supports the insertion of special characters. This allows the users to adjust the font characteristics of these characters just like any other text giving them greater flexibility in terms of the presentation design. The following steps will help you insert special characters.

Step 1 − In the Insert Tab, under the Symbols group, click on the Symbolcommand.

Microsoft PowerPoint 2010

Step 2 − In the Symbol dialog, select one of the special characters you want to insert in the presentation.

Microsoft PowerPoint 2010

Step 3 − If you cannot find the character you are looking for, you can change the font subset from the dropdown and look at a new set of characters.

Microsoft PowerPoint 2010

Step 4 − If you know the character code of the symbol, you can enter it in the Character Code field and search for it.

Step 5 − To insert a character, you can either double-click on it in the Symbol dialog or, select it and press the Insert button.

Microsoft PowerPoint 2010

Step 6 − The Symbol dialog does not disappear after you insert a character, which means you can add as many characters as you want from this dialog.

Step 7 − Once you are done, you can click Close to close the dialog.

Friday, April 7, 2023

Duplicating Content


PowerPoint is a multi-content program that supports many non-text content types like shapes, charts, pictures, clip arts, SmartArt and multimedia files. While working with the content, it may sometimes be required to duplicate the content as part of the presentation development. PowerPoint offers options to duplicate the non-text content using the cutcopy-paste features.

Cut-Paste Procedure

In this procedure, the original content is moved to a different location. When you use the Cut option, you can also create multiple copies, it is just that the content in the original location is lost. The following steps will make you understand how to work with the cutpaste procedure.

Step 1 − Select the content you want to move. Right-click on it to access the Cut option.

Microsoft PowerPoint 2010

Step 2 − Now move the cursor to the location where you want the content to be moved and right-click to access the Paste options.

Microsoft PowerPoint 2010

Step 3 − Select one of the paste options to paste the content.

Microsoft PowerPoint 2010

Copy-Paste Procedure

This is exactly similar to the cut-paste procedure except that the original content is retained in the original location.

Step 1 − Select the content you want to move. Right-click on it to access the Copy option.

Microsoft PowerPoint 2010

Step 2 − Now move the cursor to the location where you want the content to be moved and right-click to access the Paste options.

Step 3 − Select one of the paste options to paste the content.

Microsoft PowerPoint 2010

The Use Destination Theme option retains the content as the original content, but uses the destination location theme settings. The Picture option just pastes the content as an image with original settings. Once pasted as a picture you cannot change the parameters of the original content; for example, if you pasted a chart as an image, you cannot edit the data on the chart image.

Thursday, April 6, 2023

Setting Language Type


PowerPoint is a multi-lingual tool; it is evident that there will be an option to set the default language to be used in the slides. The following steps will help you set the language type in PowerPoint.

Step 1 − Under the Review ribbon, in the Language group, click on Language

Microsoft PowerPoint 2010

Step 2 − If you have not selected any content, you will be able to just set the Language Preferences

Microsoft PowerPoint 2010

Step 3 − If you have selected a portion of content with text in it, you can also set the proofing language.

Microsoft PowerPoint 2010

Step 4 − When you select the "Set Proofing Language", you get the language dialog. Wherein, you can select one of the many languages available in PowerPoint. If you are selecting a language just for the selected text, click OK. If you are selecting a language for the entire presentation click Default. You can also check the "Do not check spelling" checkbox, if you do not want PowerPoint to automatically check for spelling errors based on dictionaries available.

Microsoft PowerPoint 2010

Step 5 − When you select "Language Preferences", you get the PowerPoint Options dialog where you can change the language settings like loading dictionaries for various languages, prioritizing the display and help languages, and the Screen tip language setting.

Microsoft PowerPoint 2010

Copy and paste in PowerPoint

Copying and pasting in PowerPoint for the web differs from copying and pasting in the PowerPoint desktop application because of ...