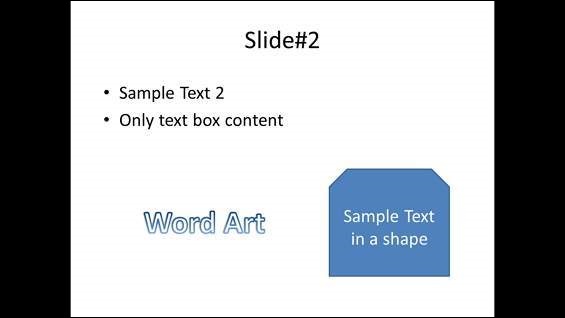
Finding Content
The following steps will show you how to find content in PowerPoint.
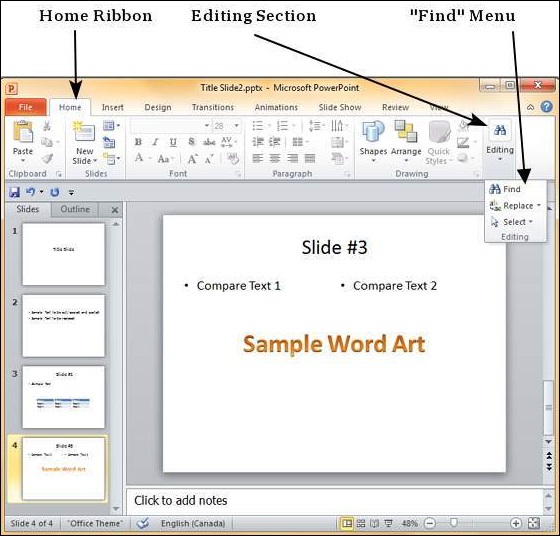
Step 1 − In the Home tab, under the Editing section click on Find.
Step 2 − Type the text you want to search in the "Find what:" field.
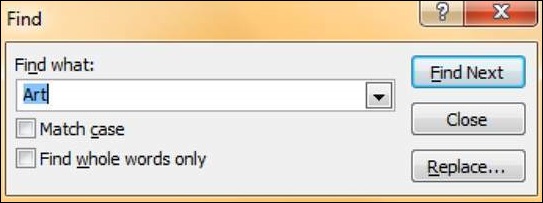
Step 3 − You can narrow your search by selecting "Match Case" - to find exact case match - and "Find whole words only" - to find whole words and not words where typed word is just a part of the word.
Step 4 − Press on "Find Next" to find the next occurrence of the search word.
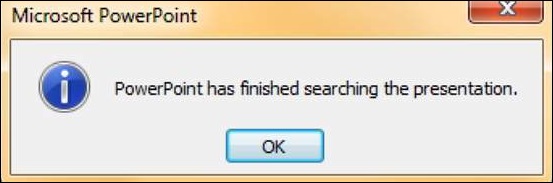
Step 5 − The Find dialog does not disappear after finding the first instance, so you can keep pressing "Find Next" multiple times till you reach the end of the search. At this point, you will receive a message from PowerPoint indicating the end of the search.
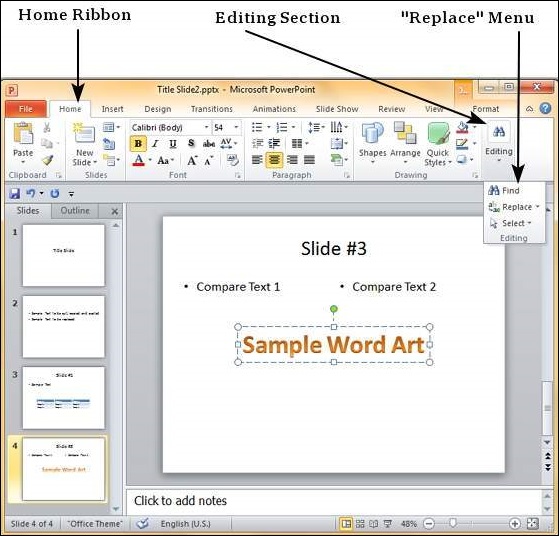
Replacing Content
Here are the steps to replace content in PowerPoint.
Step 1 − In the Home tab, under the Editing section click on the Replacebutton.
Step 2 − Type the text you want to replace in the "Find what:" field and the replaced text in "Replace with:" field
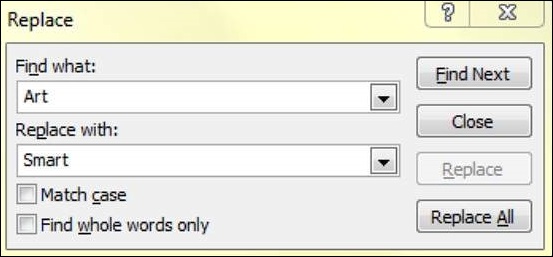
Step 3 − You can narrow your search by selecting "Match Case" - to find the exact case match - and "Find whole words only" - to find the whole words and not words where typed word is just a part of the word.
Step 4 − Press on "Find Next" to find the next occurrence of the search word. PowerPoint will show you the next occurrence and you can then click on "Replace" to replace the word. If you want to skip the occurrence, you can press "Find Next" again without pressing "Replace"
Step 5 − The Replace dialog does not disappear after finding the first instance, so you can keep pressing "Find Next" multiple times till you reach the end of the search. At this point, you will receive a message from PowerPoint indicating the end of the search.