PowerPoint offers various text alignment options to create visually appealing designs and organizing the content better. The table below describes the various text alignment options available in PowerPoint.
| S.No | Alignment Icon & Description |
|---|
| 1 |  Aligns the text to the left of the shape/ text box. |
| 2 |  Aligns the text in the middle of the shape/ text box. |
| 3 |  Aligns the text to the right of the shape/ text box. |
| 4 |  Justifies the alignment by adjusting the character spacing so the final text looks aligned from both left and right. |
| 5 |  Specifies text direction: horizontal (default), stacked (vertical), rotated by 90 or 270 degrees. You can also customize the text direction to other angles. |
| 6 |  Vertically aligns the text; top, bottom or middle of the text box/ shape. |
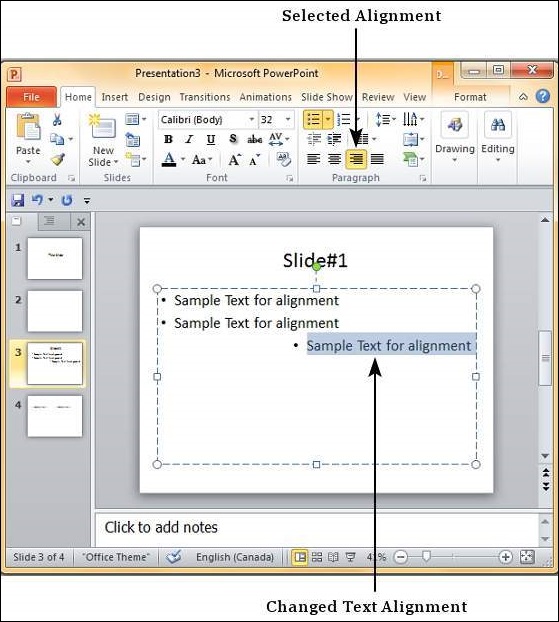
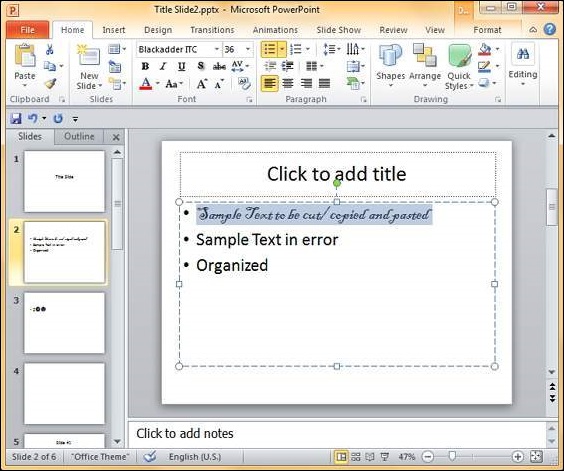
Alignment can be done on selected portion of text in text boxes, shapes and even SmartArt. The following steps will help you align text.
Step 1 − Select the portion of text that needs to be aligned. If you select a specific portion of text, the alignment settings will apply to that portion of text alone. If you select the entire shape/ text box, the settings will apply for the entire selection.
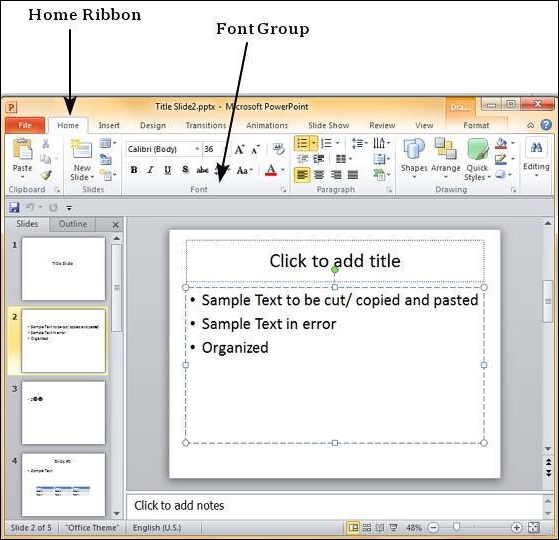
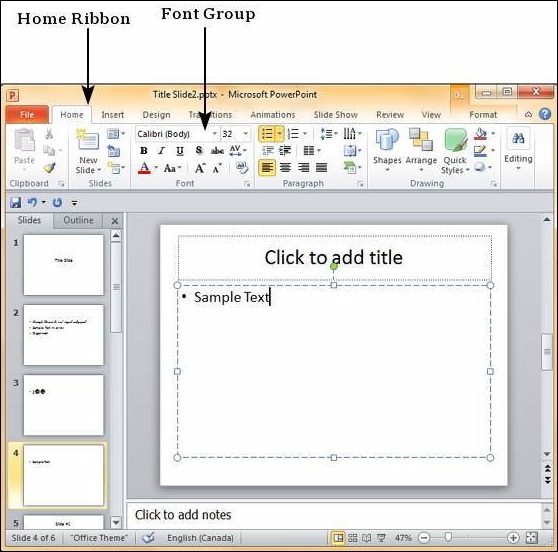
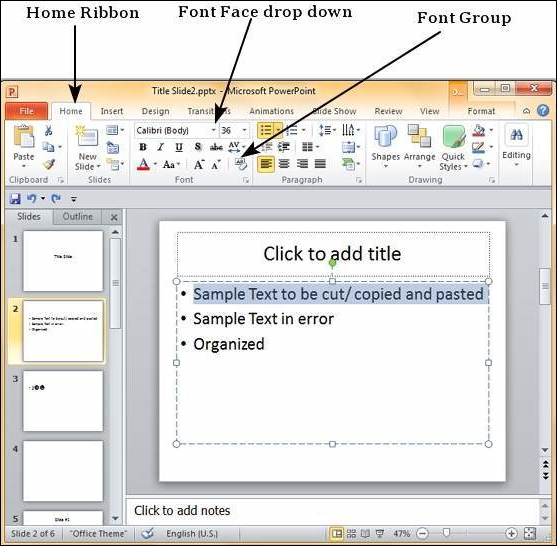
Step 2 − Go to the Paragraph group under the Home ribbon.
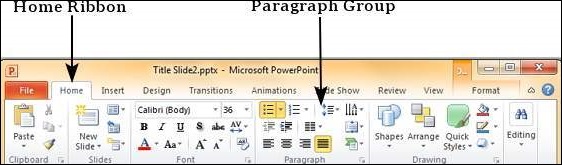
Step 3 − Select one of the alignment options described above to change the text alignment. Note that the default alignment for text is usually Left.
Step 4 − As long as the text is selected, you can change the text alignment multiple times.