Step 1 − Select the text content to be spaced. You can either select the entire paragraph or just place the cursor within the paragraph.
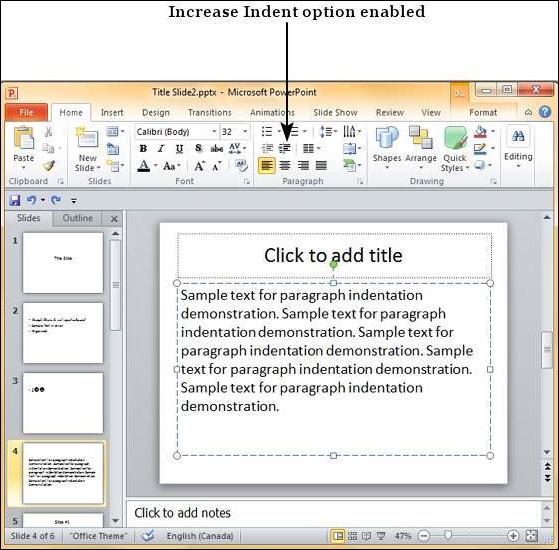
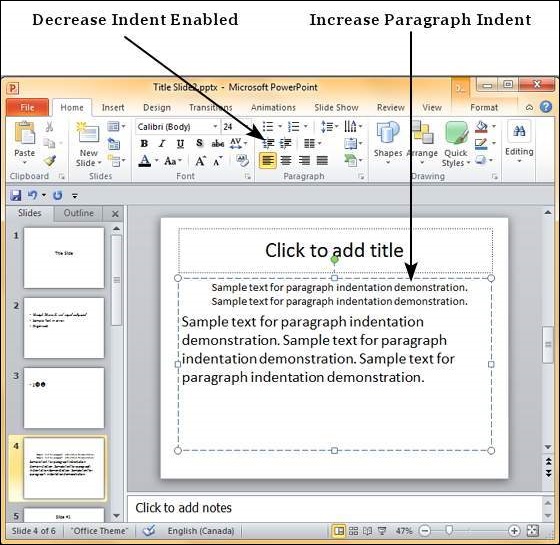
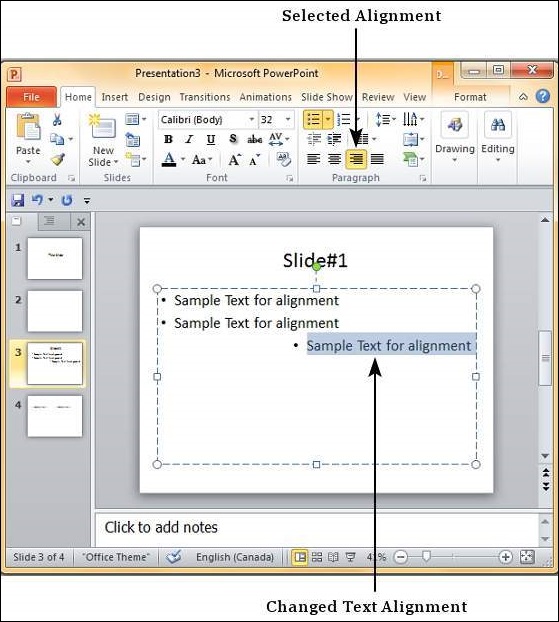
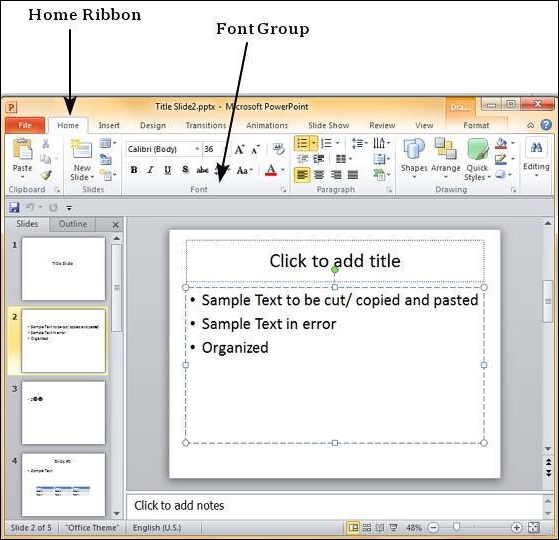
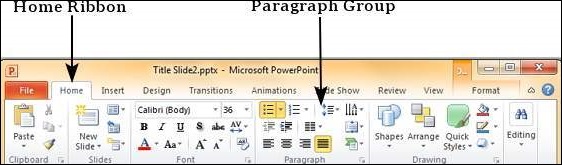
Step 2 − Go to the Paragraph group under the Home ribbon.
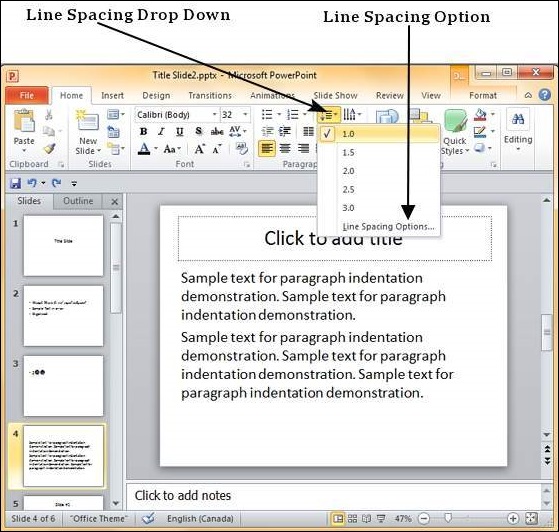
Step 3 − Select one of the line spacing option from the dropdown list to apply one of predefined spacing options.
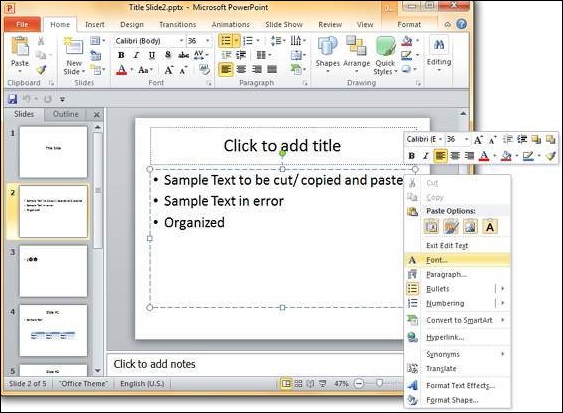
Step 4 − To customize the spacing, you can click on "Line Spacing Options…" This will launch the Paragraph dialog.
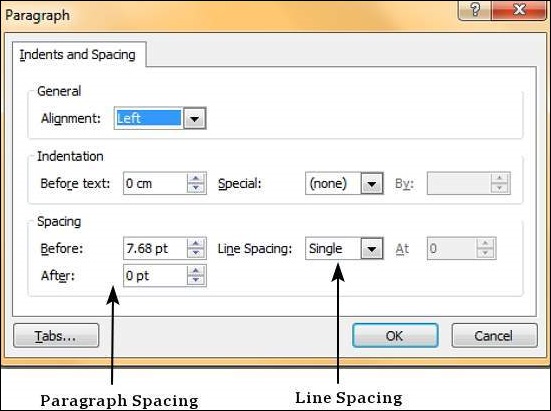
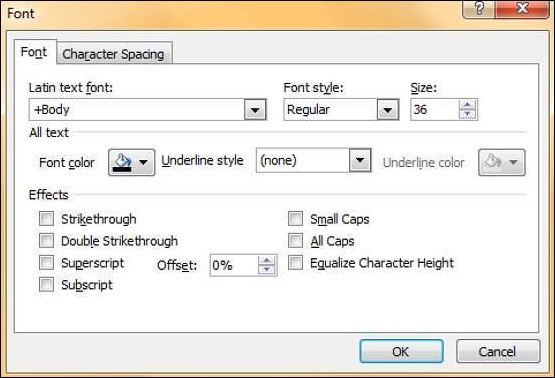
Step 5 − The spacing section in the Paragraph dialog has two settings. The Before and After are the spacing for paragraph as a whole, while Line Spacing is the spacing for lines within the paragraph itself.